
Scanning old negatives is generally a pain in the behind. Scanning century-old glass-plate negatives is doubly a pain in the butt. Scanning a dense, poorly maintained Great War stereo negative like the one that arrived in the mail this morning is like taking a bayonet straight to the arse. But don’t take my word for it – this is what the glass looks like to the naked eye:

If working on any given glass stereoview, negative or positive, can be rated on a scale of 0-4 cups of Barry’s Tea – my weapon of choice when doing really granular work on an image – this would be a 3-to-4 cup plate. And it will be the first of many, as this was really partially an excuse to prepare myself for scanning about a hundred of these from the Fasser Collection. And those are 6x13s – this was just a piddly little 45×107!
To retrieve the most data possible from a negative, the best option is to do a multi-pass scan to create a .DNG file – also known as a “digital negative”. The downside is that, in order to get the most depth out of the image, you must scan it as a negative – you can’t scan it to an inverted positive. I don’t know why this is – surely it’s possible to just invert every pixel in each of the 3 layers saved to the RAW file – but at least with my equipment I cannot. So this is what I’m looking at when I start working on developing the file which I’ve just spent around 20 minutes making a 3-pass scan of:
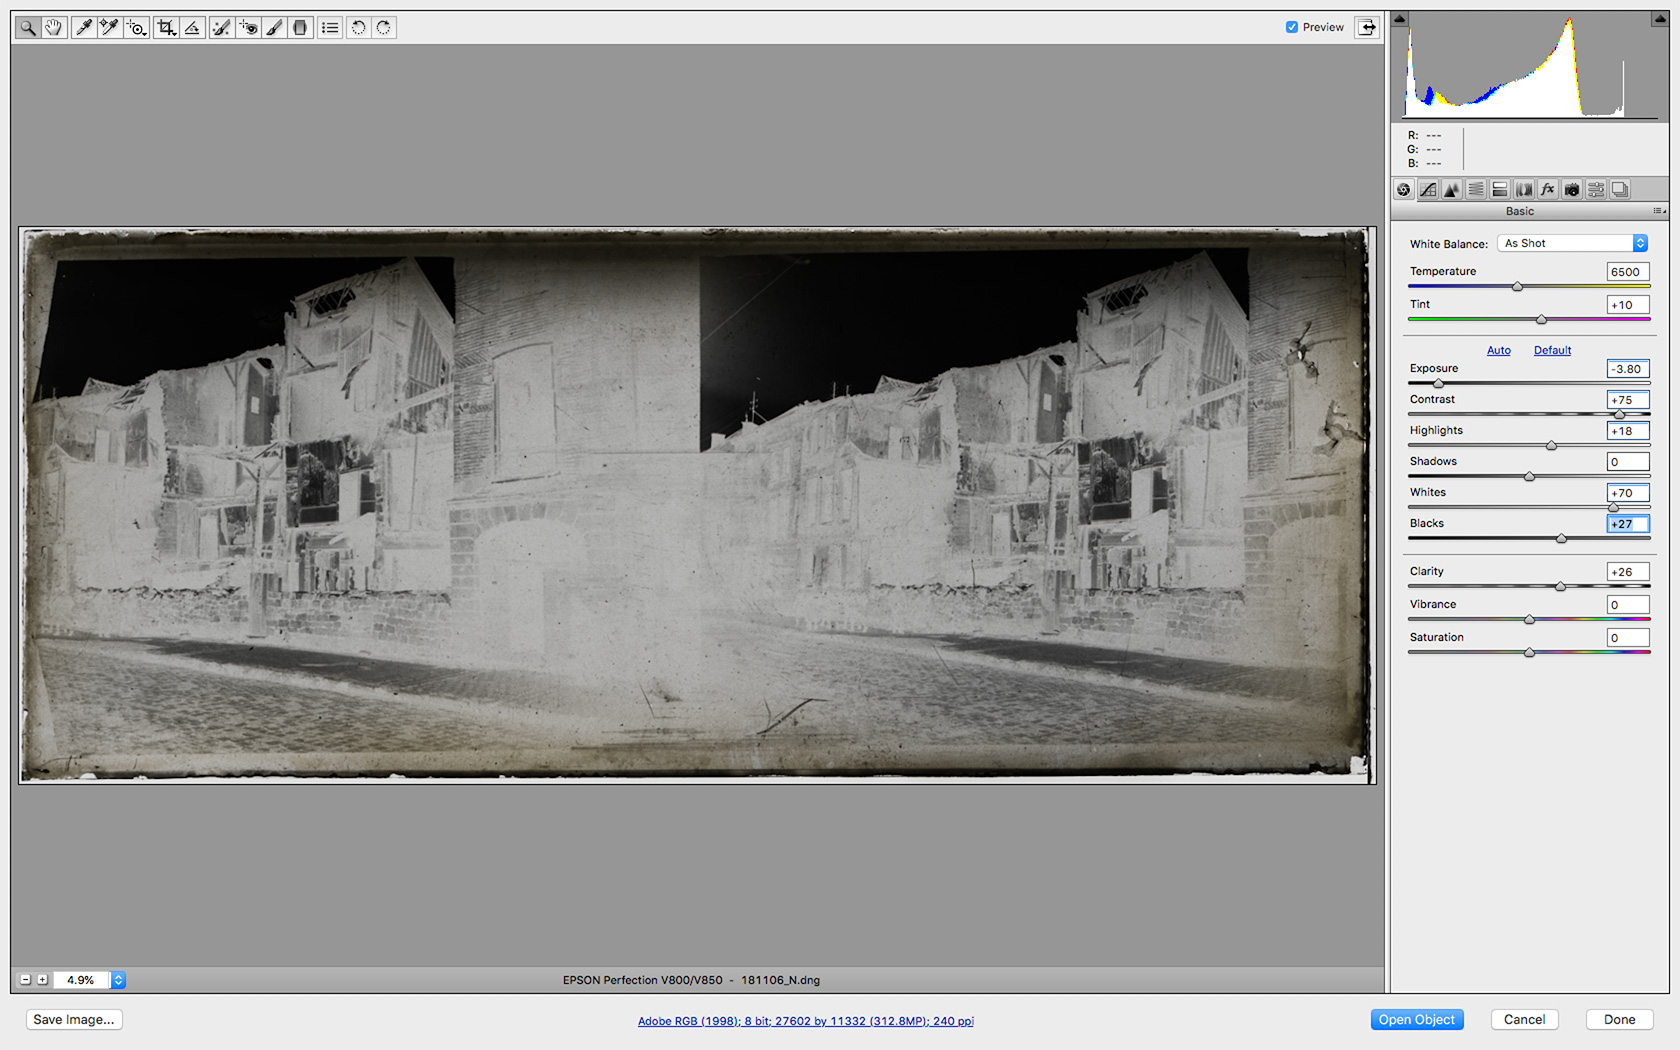
The above settings left me with a first attempt at a reconstructed, more properly-exposed negative:

And here is the positive produced by that:

Gyah! Foggy, hazy, lacking in contrast and detail – we can surely do better. Getting these things right is a time-consuming process involving one part each of darkroom experience & RAW conversion experience, and about eleven parts trial-and-error. Here’s the second attempt at a positive:

Bugger – it’s even worse than the first attempt. I was trying to make the blacks blacker (by, inversely, making the whites whiter) in the RAW developer, and adding some contrast overall. And boy did I succeed! Unfortunately, I went way too far – which is easy enough to do when trying to develop an image in reverse. Let’s go back and fiddle again:

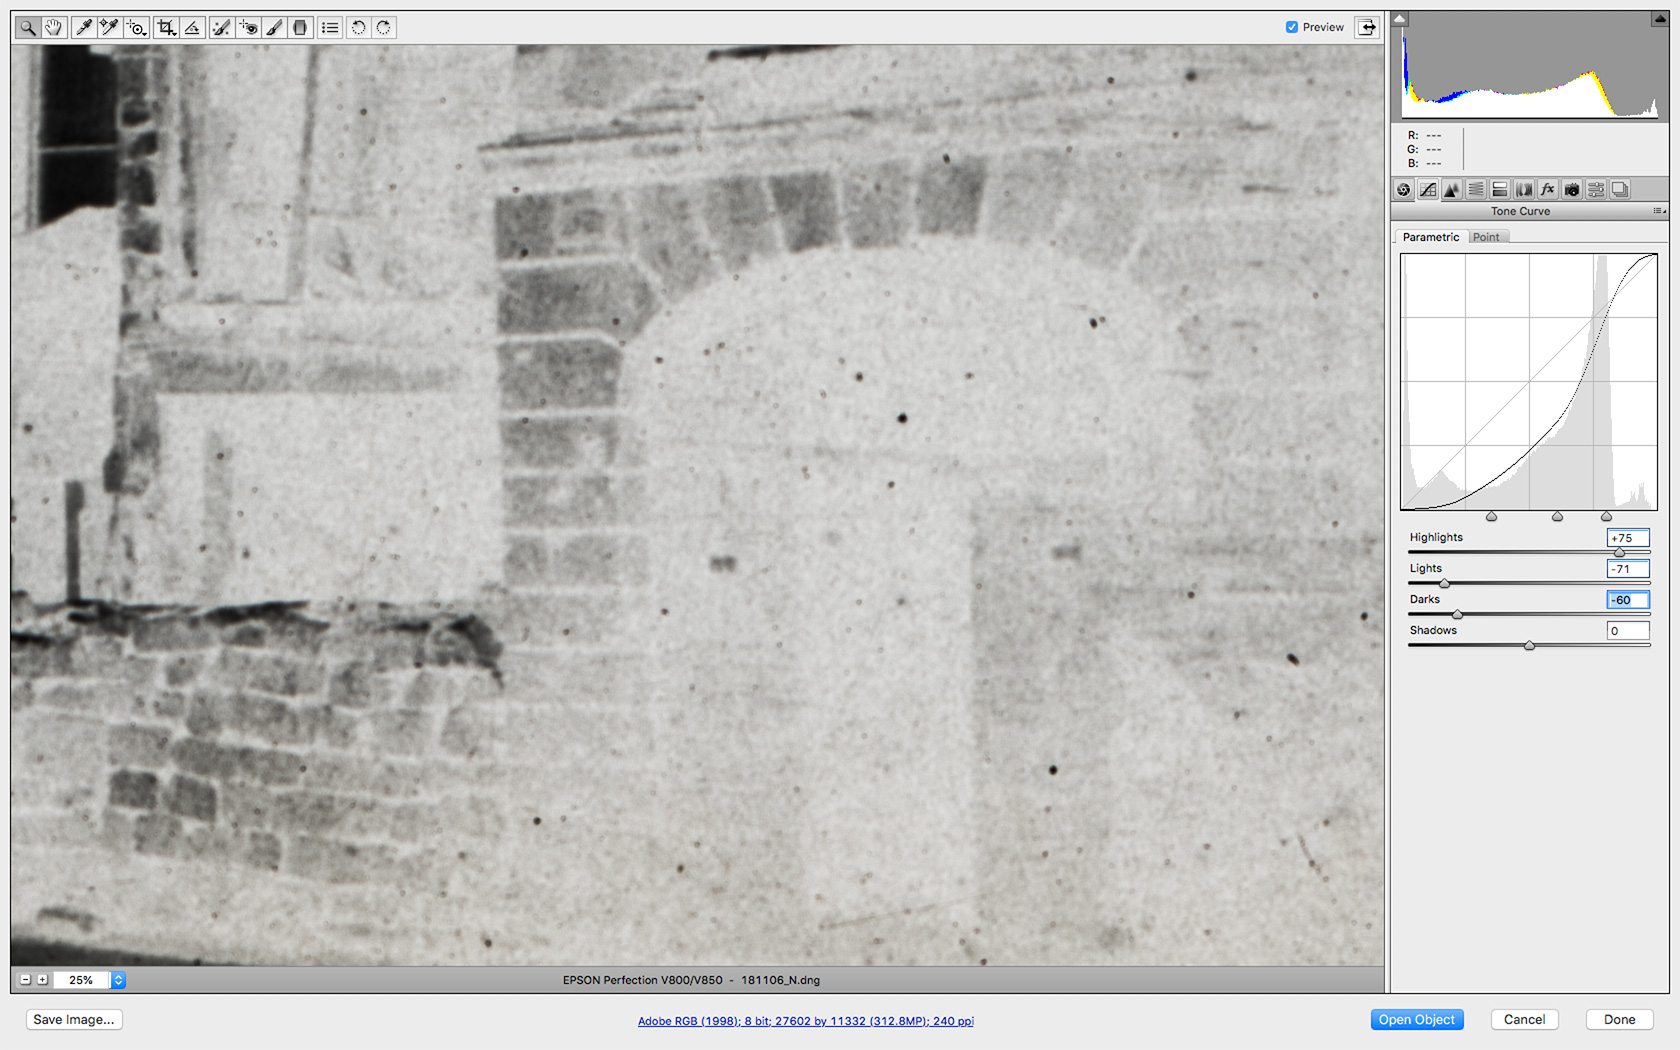
Getting closer; the basic exposure and contrast is right, but the gradients are a little harsh. Time to start screwing around with curves in the RAW converter. We pop on over to our curves tab…

Okay! On the whole, the image is looking far better. But then there’s that problem of the blue (actually orange/yellow, but appears blue on inversion to positive) fringing around the edge of the image. What is that, you might ask, and it’s a good question. The answer: it’s what happens when someone has stored their negatives for a long time in a moist, oxygenated environment like a jerk. If you’re going to have in your possession unique items of historical significance, please treat them like the gems that they are, and not like some weird curio you found in someone’s rubbish bin! In any case, there is a quick fix which helps the problem, without entirely fixing it. Just go into the RAW converter, head on over to the color controls, reduce the “saturation” slider for the yellow & orange channels down to zero, and then play with their “luminance” settings until the areas affected more or less match the areas surrounding them. It’ll be as good as the converter can make it when you get to something that looks like this:

Which give us a positive that looks pretty darn good:

But, to produce a workable image for free-viewing, making anaglyphs, displaying on the internet etc, it’s best to take it one step further, and remove the excess border (which I always leave around scans in case I have to use the ruler to level them), do a little final toying with the levels, and remove the most egregious artifacts – in this case, the upper left-hand corner of the plate, where the emulsion was ripped loose, causing a triangle:

So now I’ve recovered quite a lot from this negative. I can further restore it, of course – some dodging and burning are in order, and some cleanup could really go a long way with some other artifacts, but that’s not really the point. This negative – this scene from the Great War, or from its immediate aftermath – is preserved. Even if my house were to burn down, a 2 GB DNG file (so, basically, nearly two-thousand floppy disks worth of data) are sitting on the Cloud right now, ready to be restored at any point.
So at the end of the day, what are we left with here? A still quite battered street scene, taken in an unknown place at an unknown time by an unknown photographer, sometime during or following the Great War. It’s barely-stereo – it should have been taken as a hyper, but the photographer’s camera probably didn’t allow for this option, and few photographers could adequately pull off the “black the right, take the left, black the left, shift to the right, take the right” method well enough to get a good stereo for it. That took practice. Most WWI photographers didn’t have much, or any – the French government issued many officers with cameras, plates, and instructions, and hoped that some good stuff would return.
So why save it? Because it’s a piece of history. Even if the scene isn’t incredibly exciting, and even if it was over-exposed and not a great use of stereo, it’s a part of the collective legacy of the past, and more than worth saving – or draining three cups of tea while repeatedly trying new and better ways to develop the file. Because, this being the negative, this is the original image. This plate was there in that street on that day. Whatever it captured should be preserved for eternity. That’s why. When I have a server large enough, the DNG for this – as well as every other DNG created from either public domain source material or source material that I own the rights to (or have been granted rights, as in the Fasser Collection), will be made available to the public.
Anaglyph
